


Watercolor Gardens

When I started indoor sowing seeds about five years ago, I uncovered a whole new way to cope with our region’s long winter season. Six months of snow, bitterly cold temperatures, and abbreviated daylight never brings out the best in me. But having a new way to garden indoors helps stave off loneliness during winter months.
Those first years of indoor gardening included a lot of trial and error. I invested in modest indoor gardening supplies, like seed trays, heat mats, and grow lights. I scoured the internet and social media to find easy and accessible instructions on how to germinate seeds, how to transplant them into bigger pots, and how to acclimate seedlings to outdoor weather. I also spent time imagining and then eventually designing the garden to prepare for all the plants I started indoors. Instead of drawing sketches of my ideas, I painted the designs using watercolor.
I can’t really explain why I started capturing my designs in watercolor. I suppose I craved color and texture, two things noticeably missing when winter descends. I also wanted to think fairly concretely about which plants I placed in a raised garden bed and which I planted in a more traditional garden bed. Watercolor renderings of my garden plans helped me plan how to organize the different flowers and foods I started indoors.
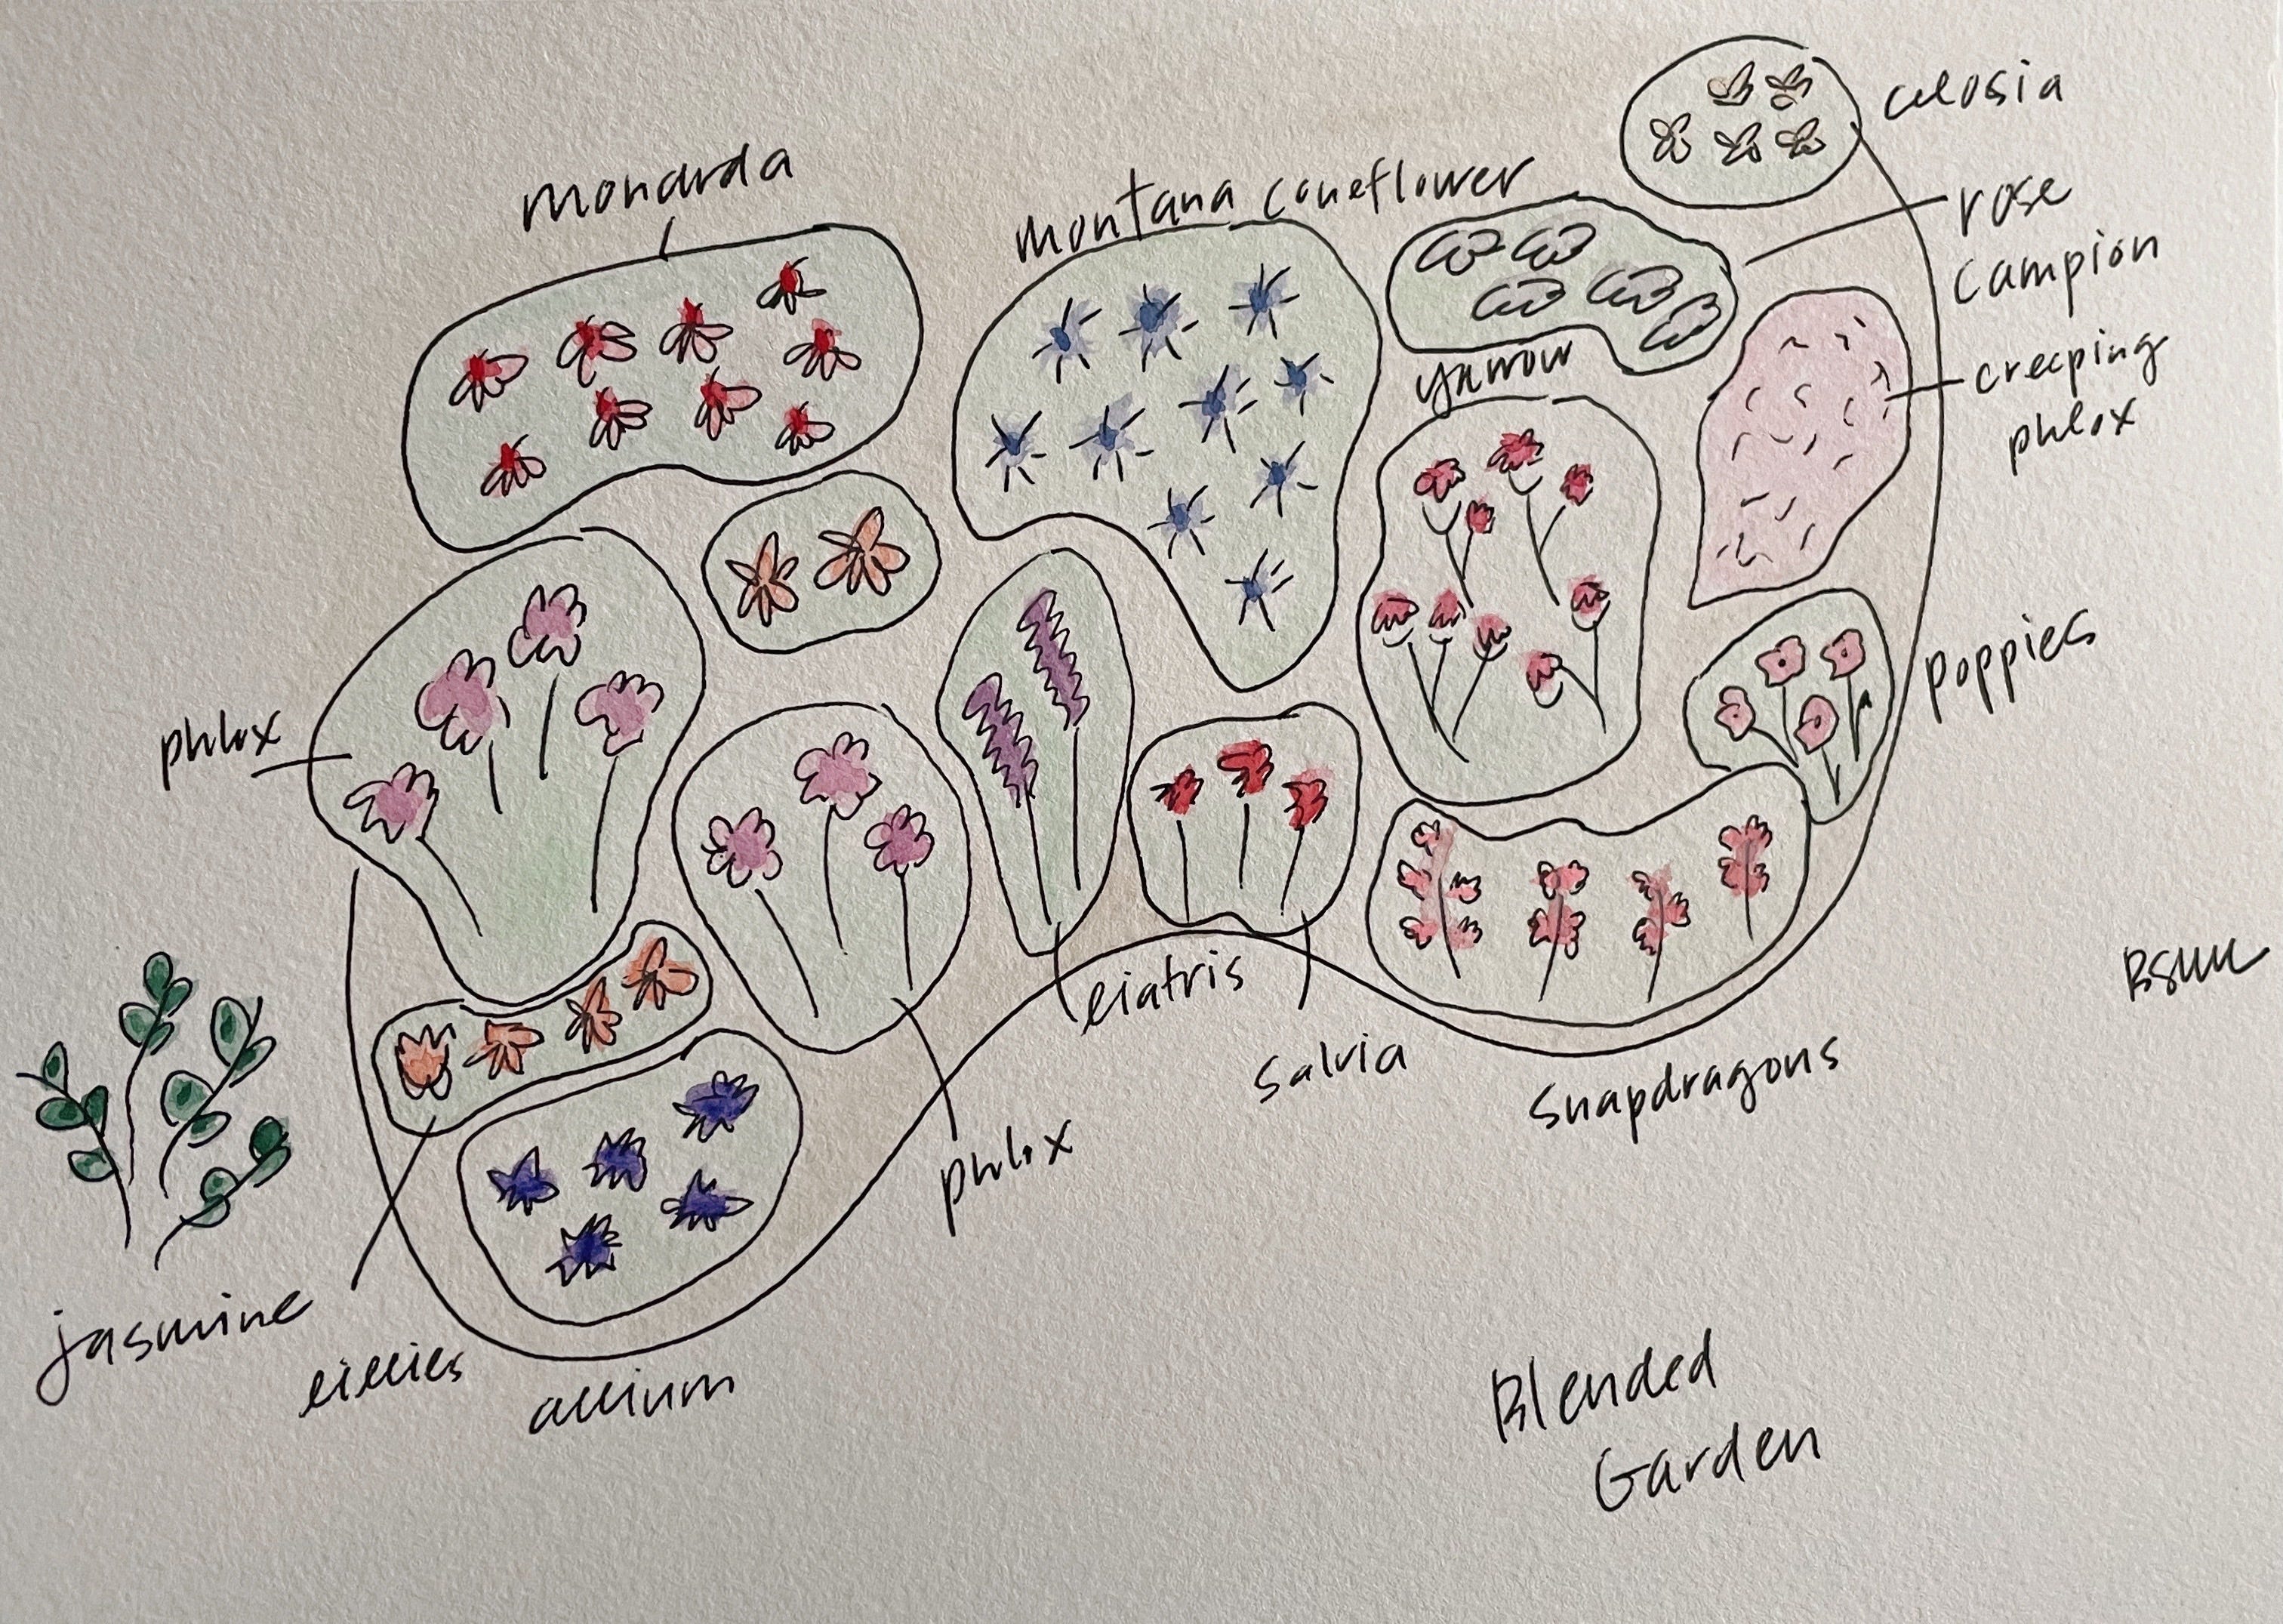
Sometimes, I arranged flowers by color or by height, choosing to keep purples with pinks and reds with oranges. In other years, I dedicated my design ideas to companion planting, or the intentional arrangement of complementary plants to enhance the best attributes of each (or to prevent certain pests from decimating a particular flower crop). Eventually, I started to plan my gardens by theme, but I always paid careful attention to bloom times to ensure I cultivated continuous blossoms all season. For example, last year I interplanted strawflower around garlic bulbs, and included coneflower near clumps of pulmonaria (lungwort) and salvia. After pulmonaria’s early spring purple blossom, I anticipated a mid-summer burst of white salvia followed by an autumnal emergence of punch-colored coneflower.
I’ve been painting in various ways for decades. My first garden rendering was a fluke — I freehand doodled many of the plants and then hastily added color to get a sense of the overall design. I thought little of watercolor technique and took no attempt to layer color in or to create shadows on flower petals. In fact, I used a discarded Crayola paint kit (you know, the kind you buy for your children and their first day of school), which meant my color choices were fairly limited, even when I blended different shades together. Then it became a tradition: each March, after plotting out seeds to germinate indoors and starting several trays of flowers and food beneath grow lights, I used paint as a way to dream about the summer garden.
Last year I discovered that cheap eight-color Crayola paint kits do in fact grow moldy, so I invested in a more elaborate paint set and some quality water color paper. The paints are nothing fancy, but choosing from 48 colors instead of eight actually invigorates me. I follow a few important rules when I start painting. Rule #1: I paint what I like. Period. Rule #2: I usually render designs from an overhead perspective, but I’ve been known to blend different vantage points in a single painting, even though that’s not realistic. Rule #3: I spend zero time trying to capture blossoms, petals, and leaves realistically. Sketches are created quickly; the forms I draw are impressions that give me an overall sense of the flower more than the accuracy of its physical characteristics. Sometimes my pieces look rather cartoonish, on purpose. Rendering my garden plans in watercolor is a fun way to imagine a future that doesn’t currently exist. If I am imagining a future, I might as well do it joyfully.
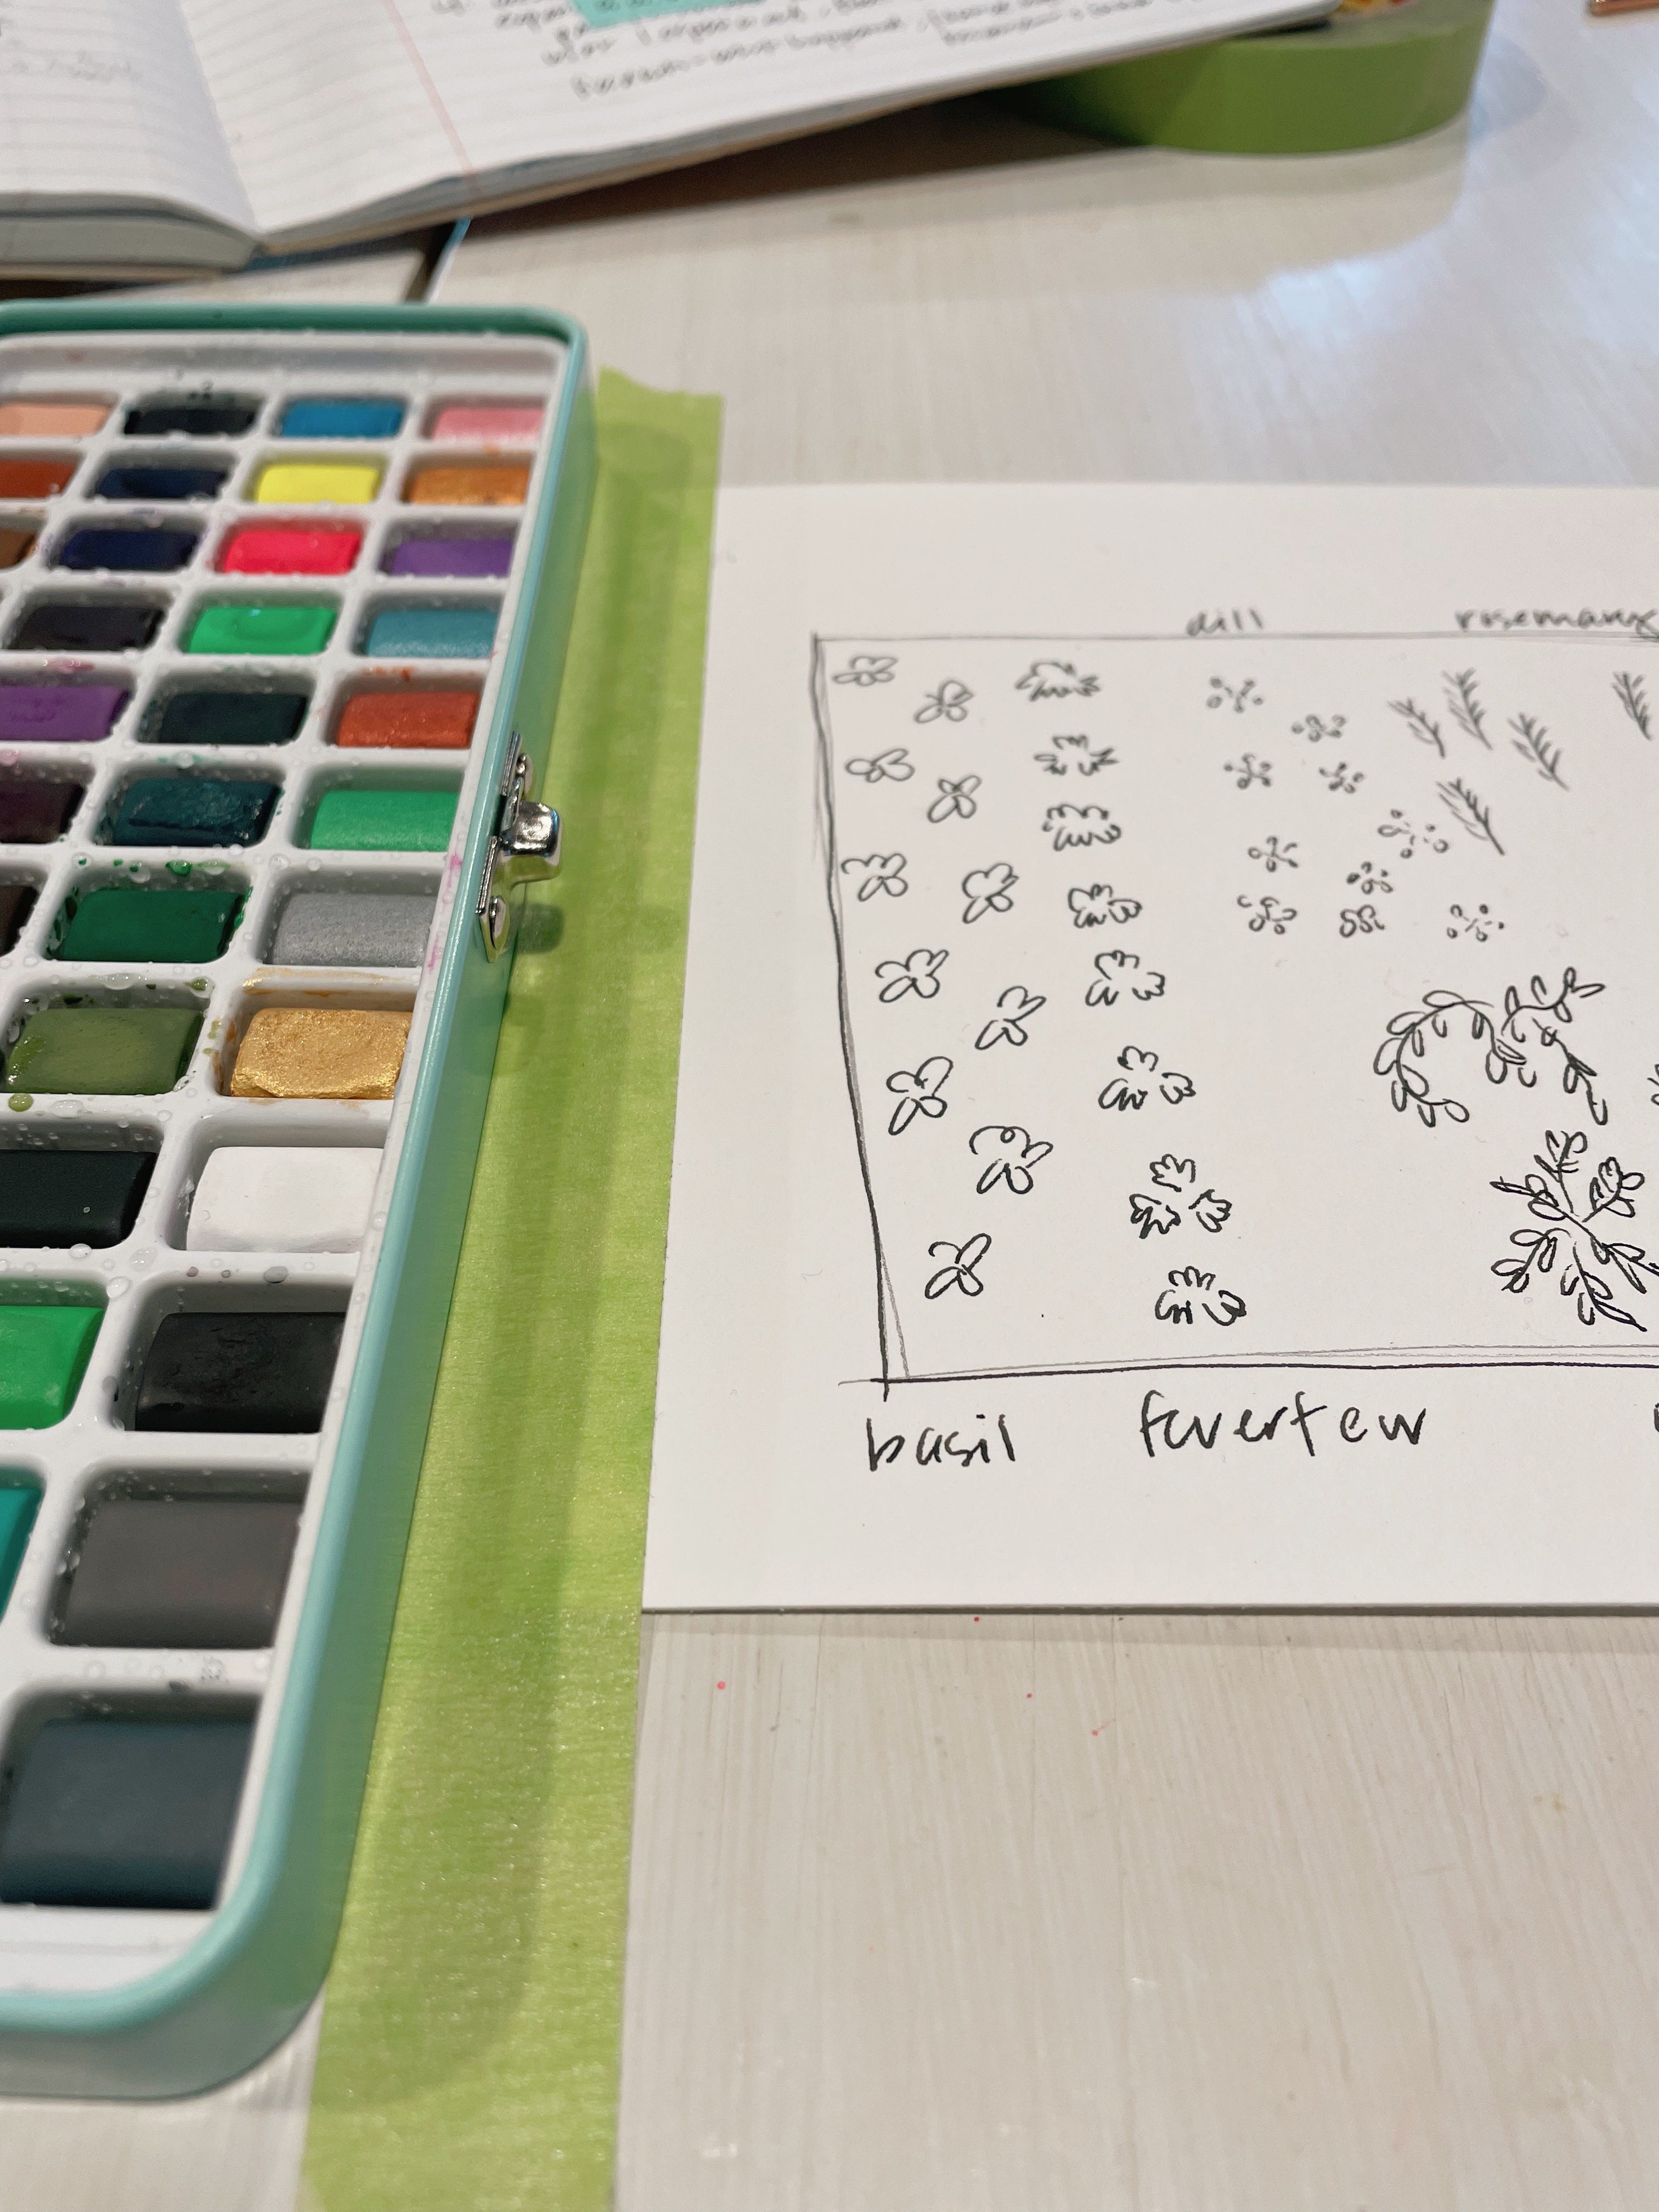
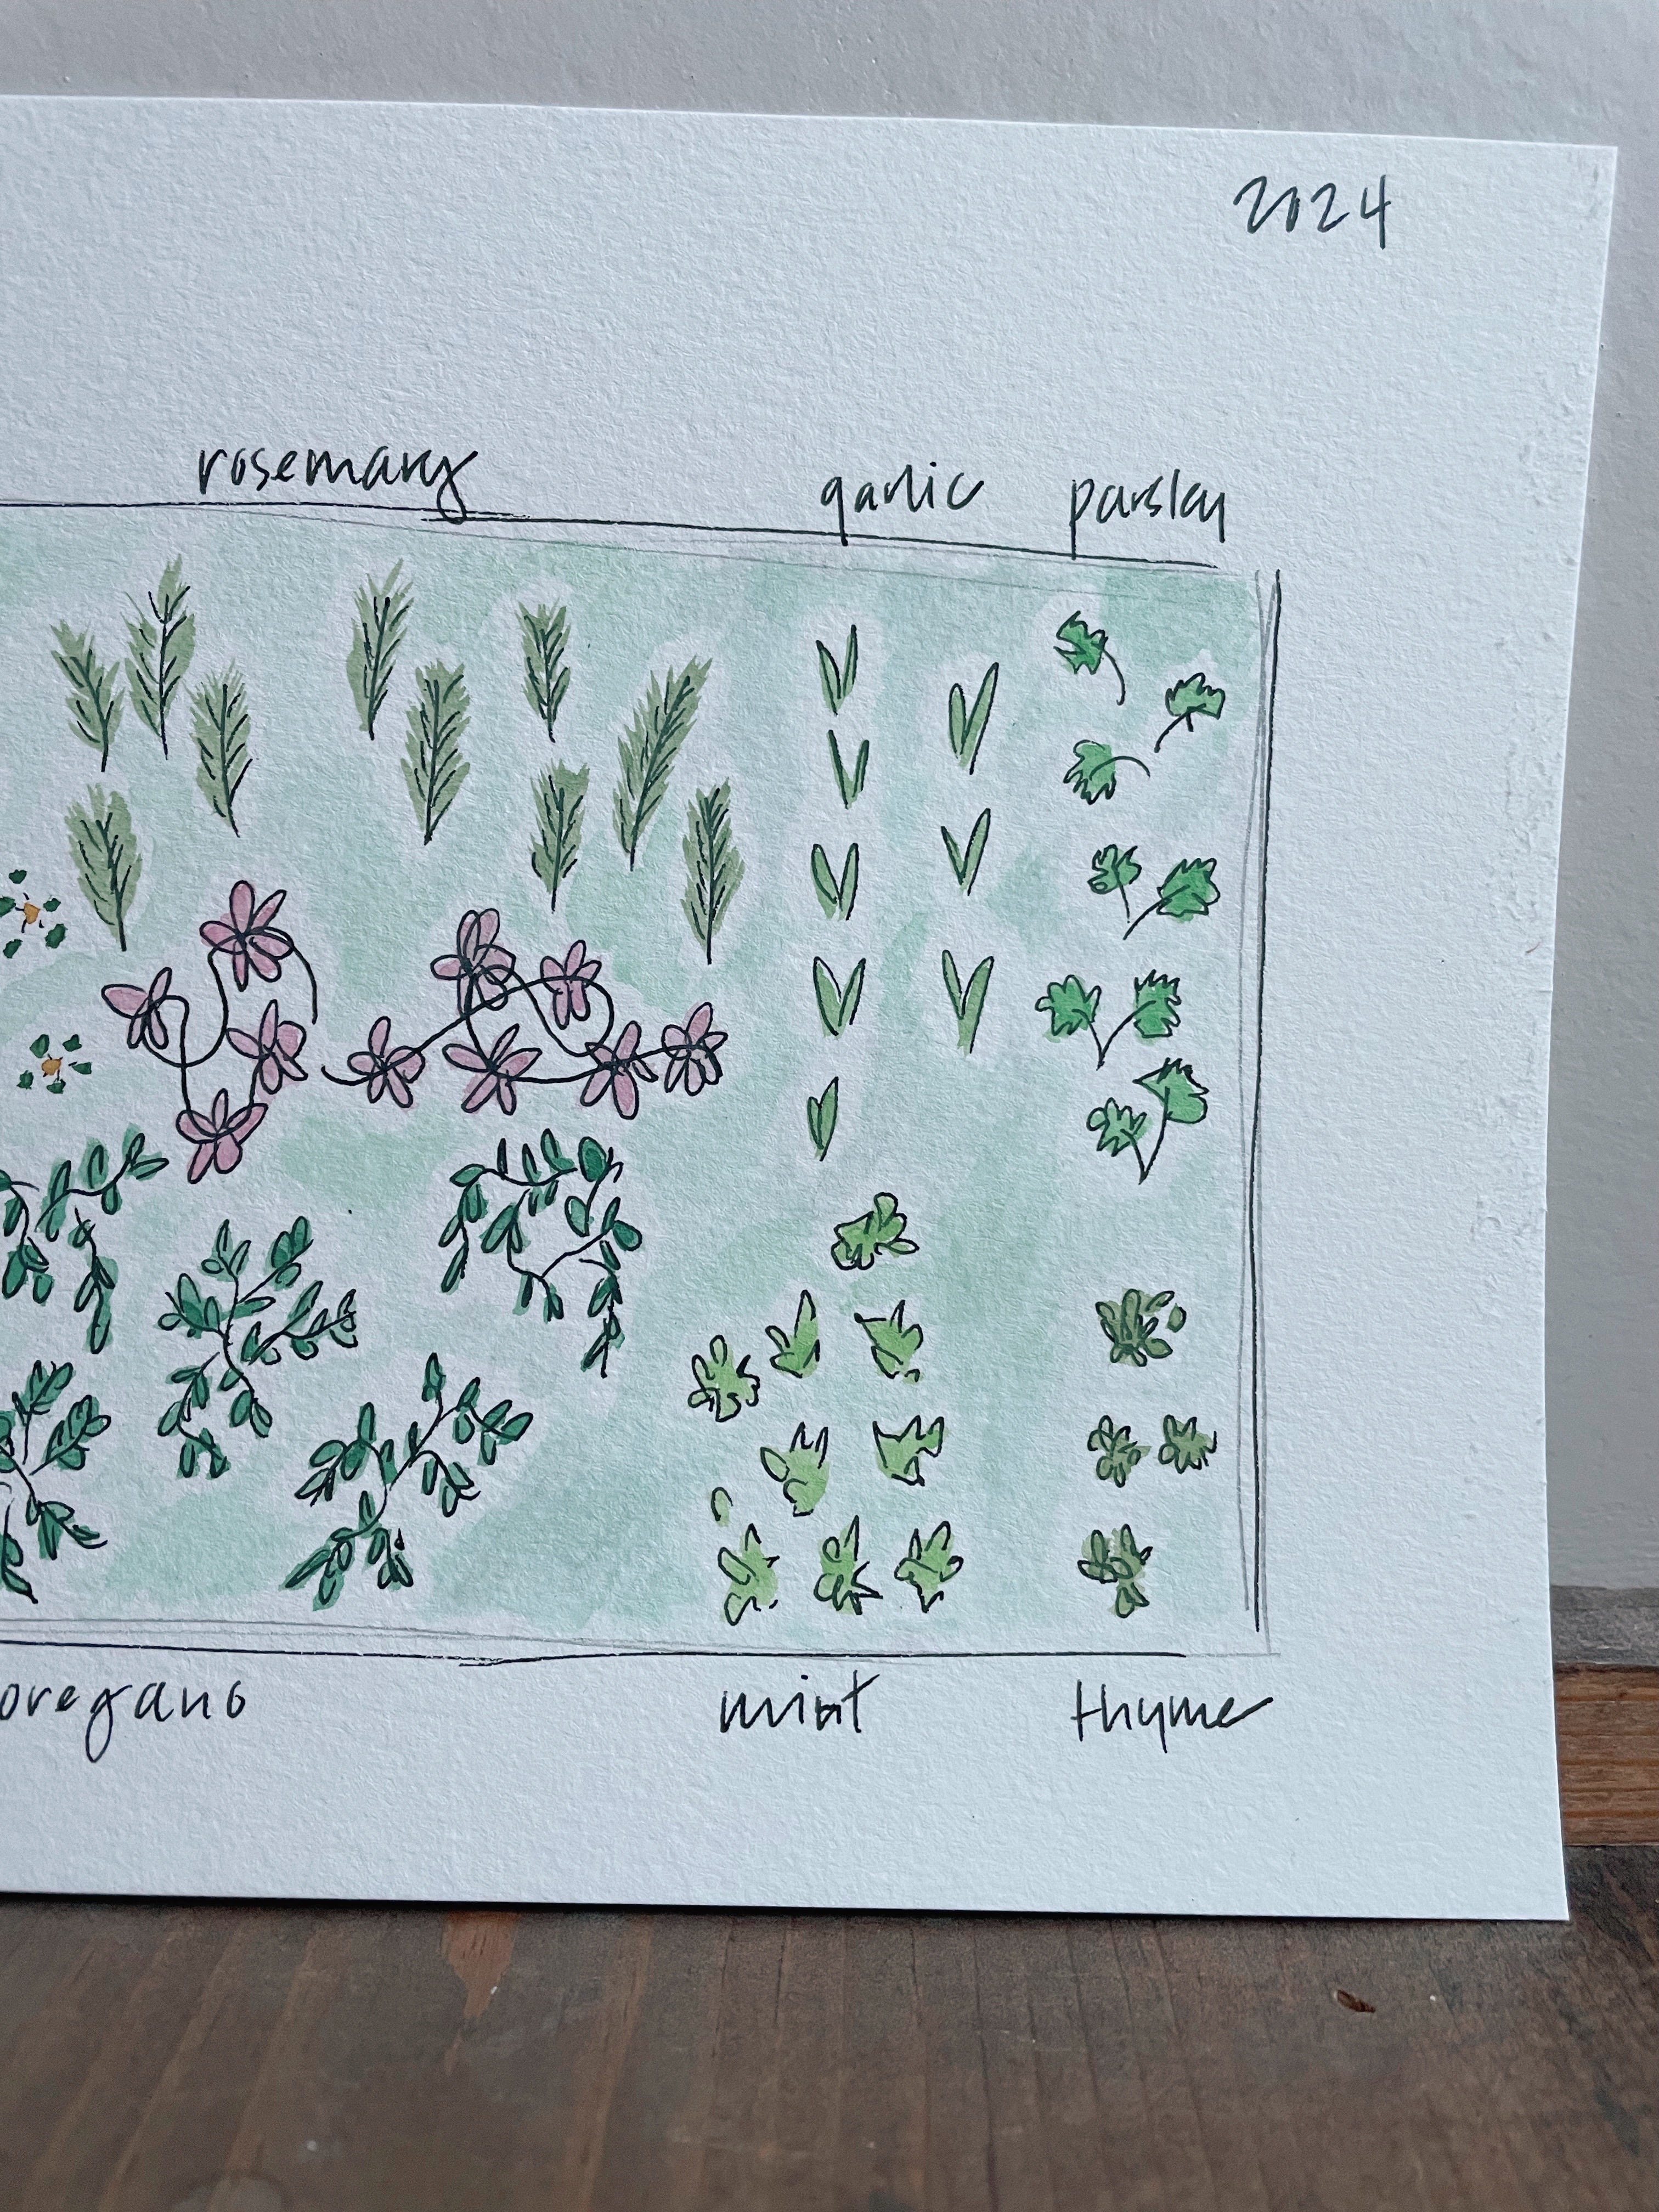
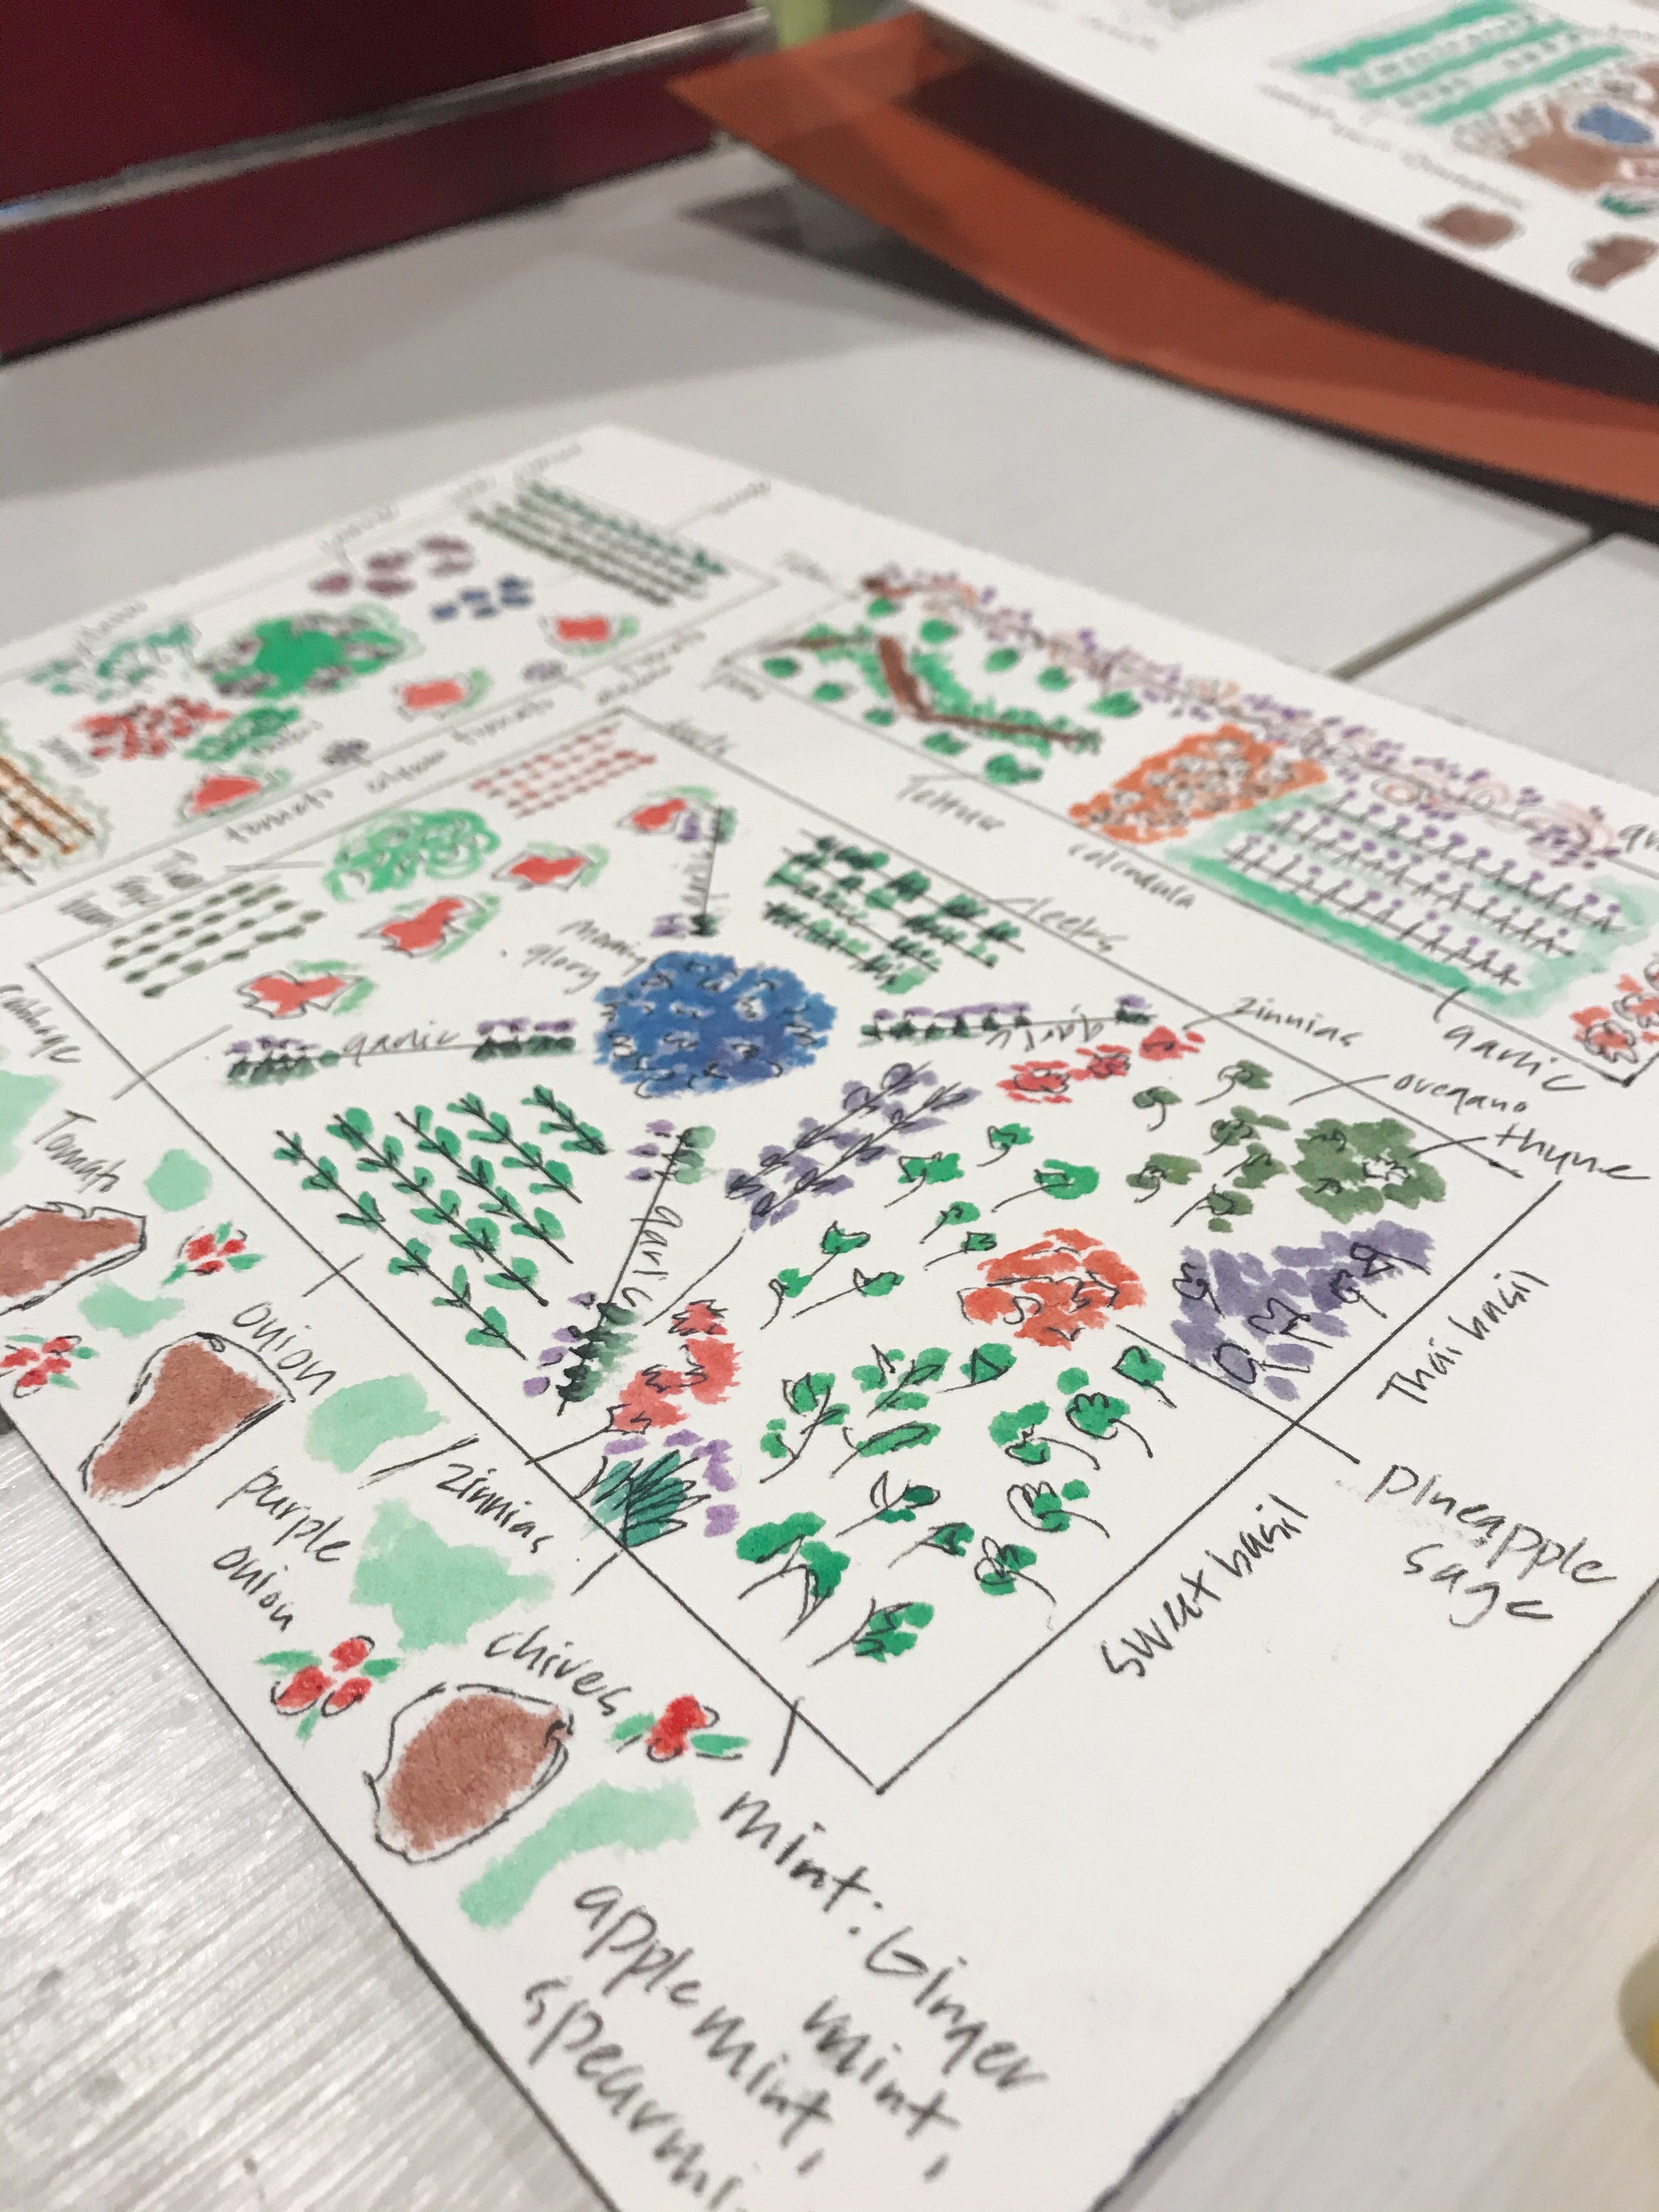
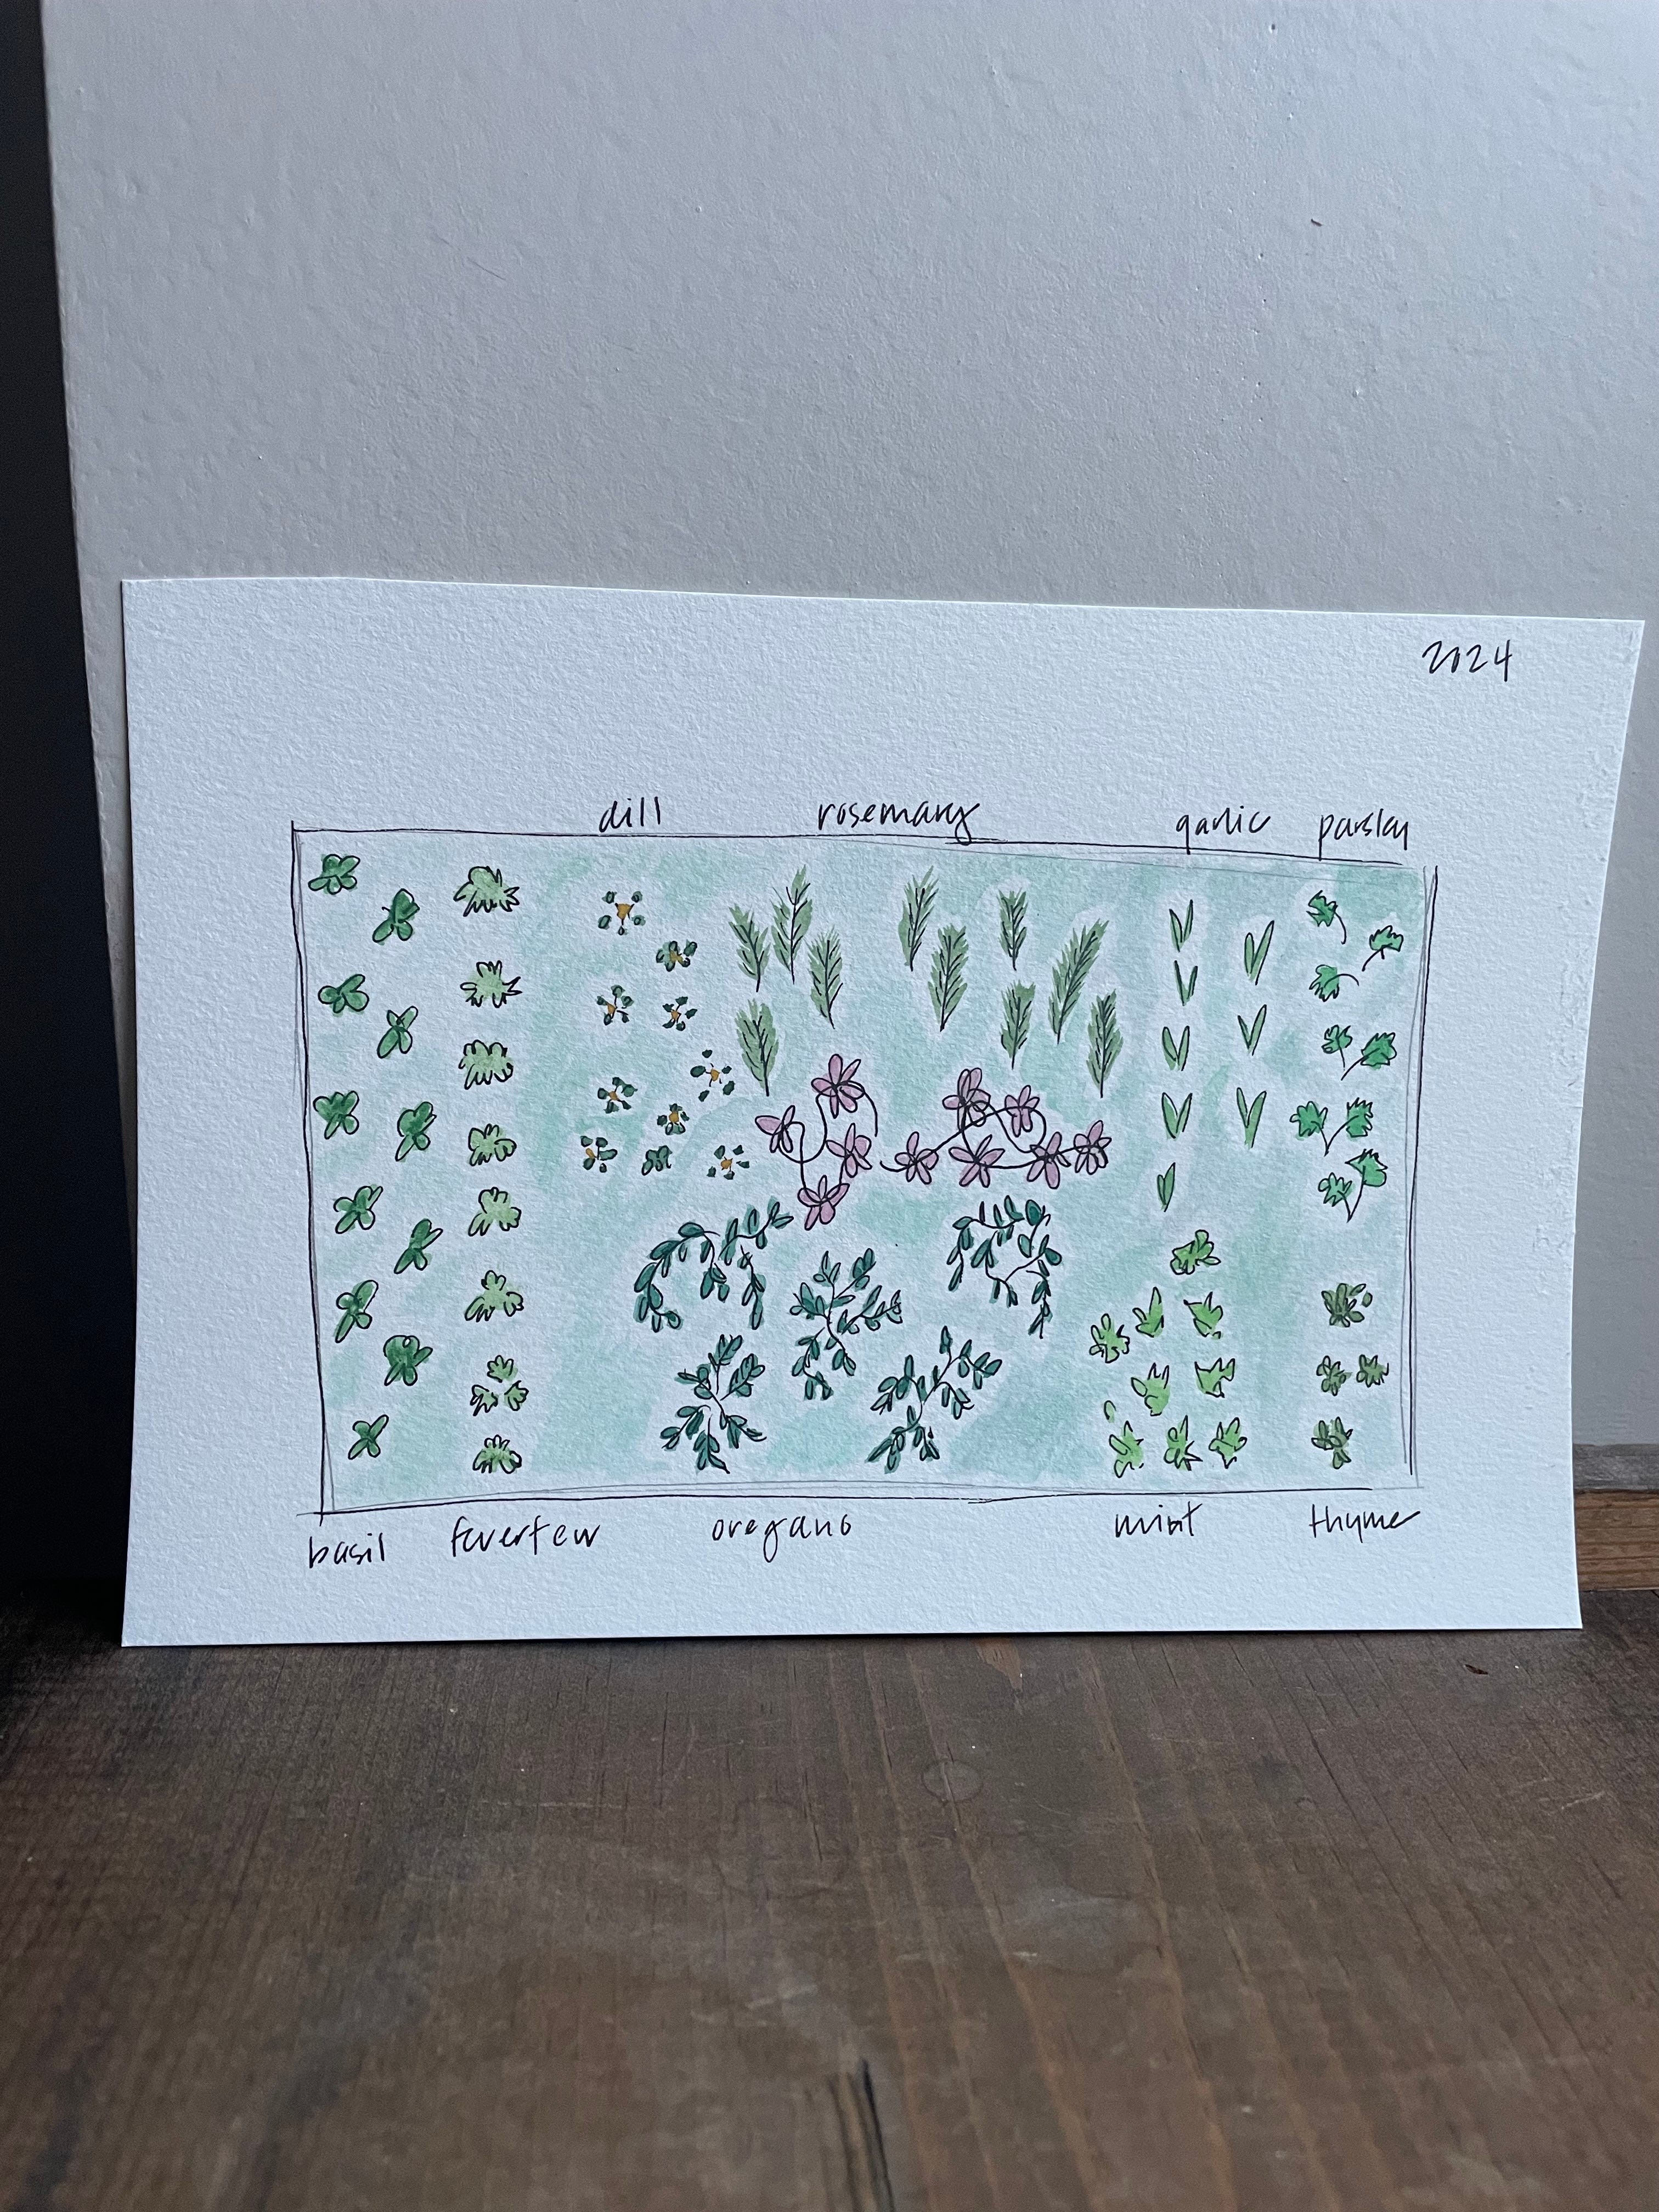
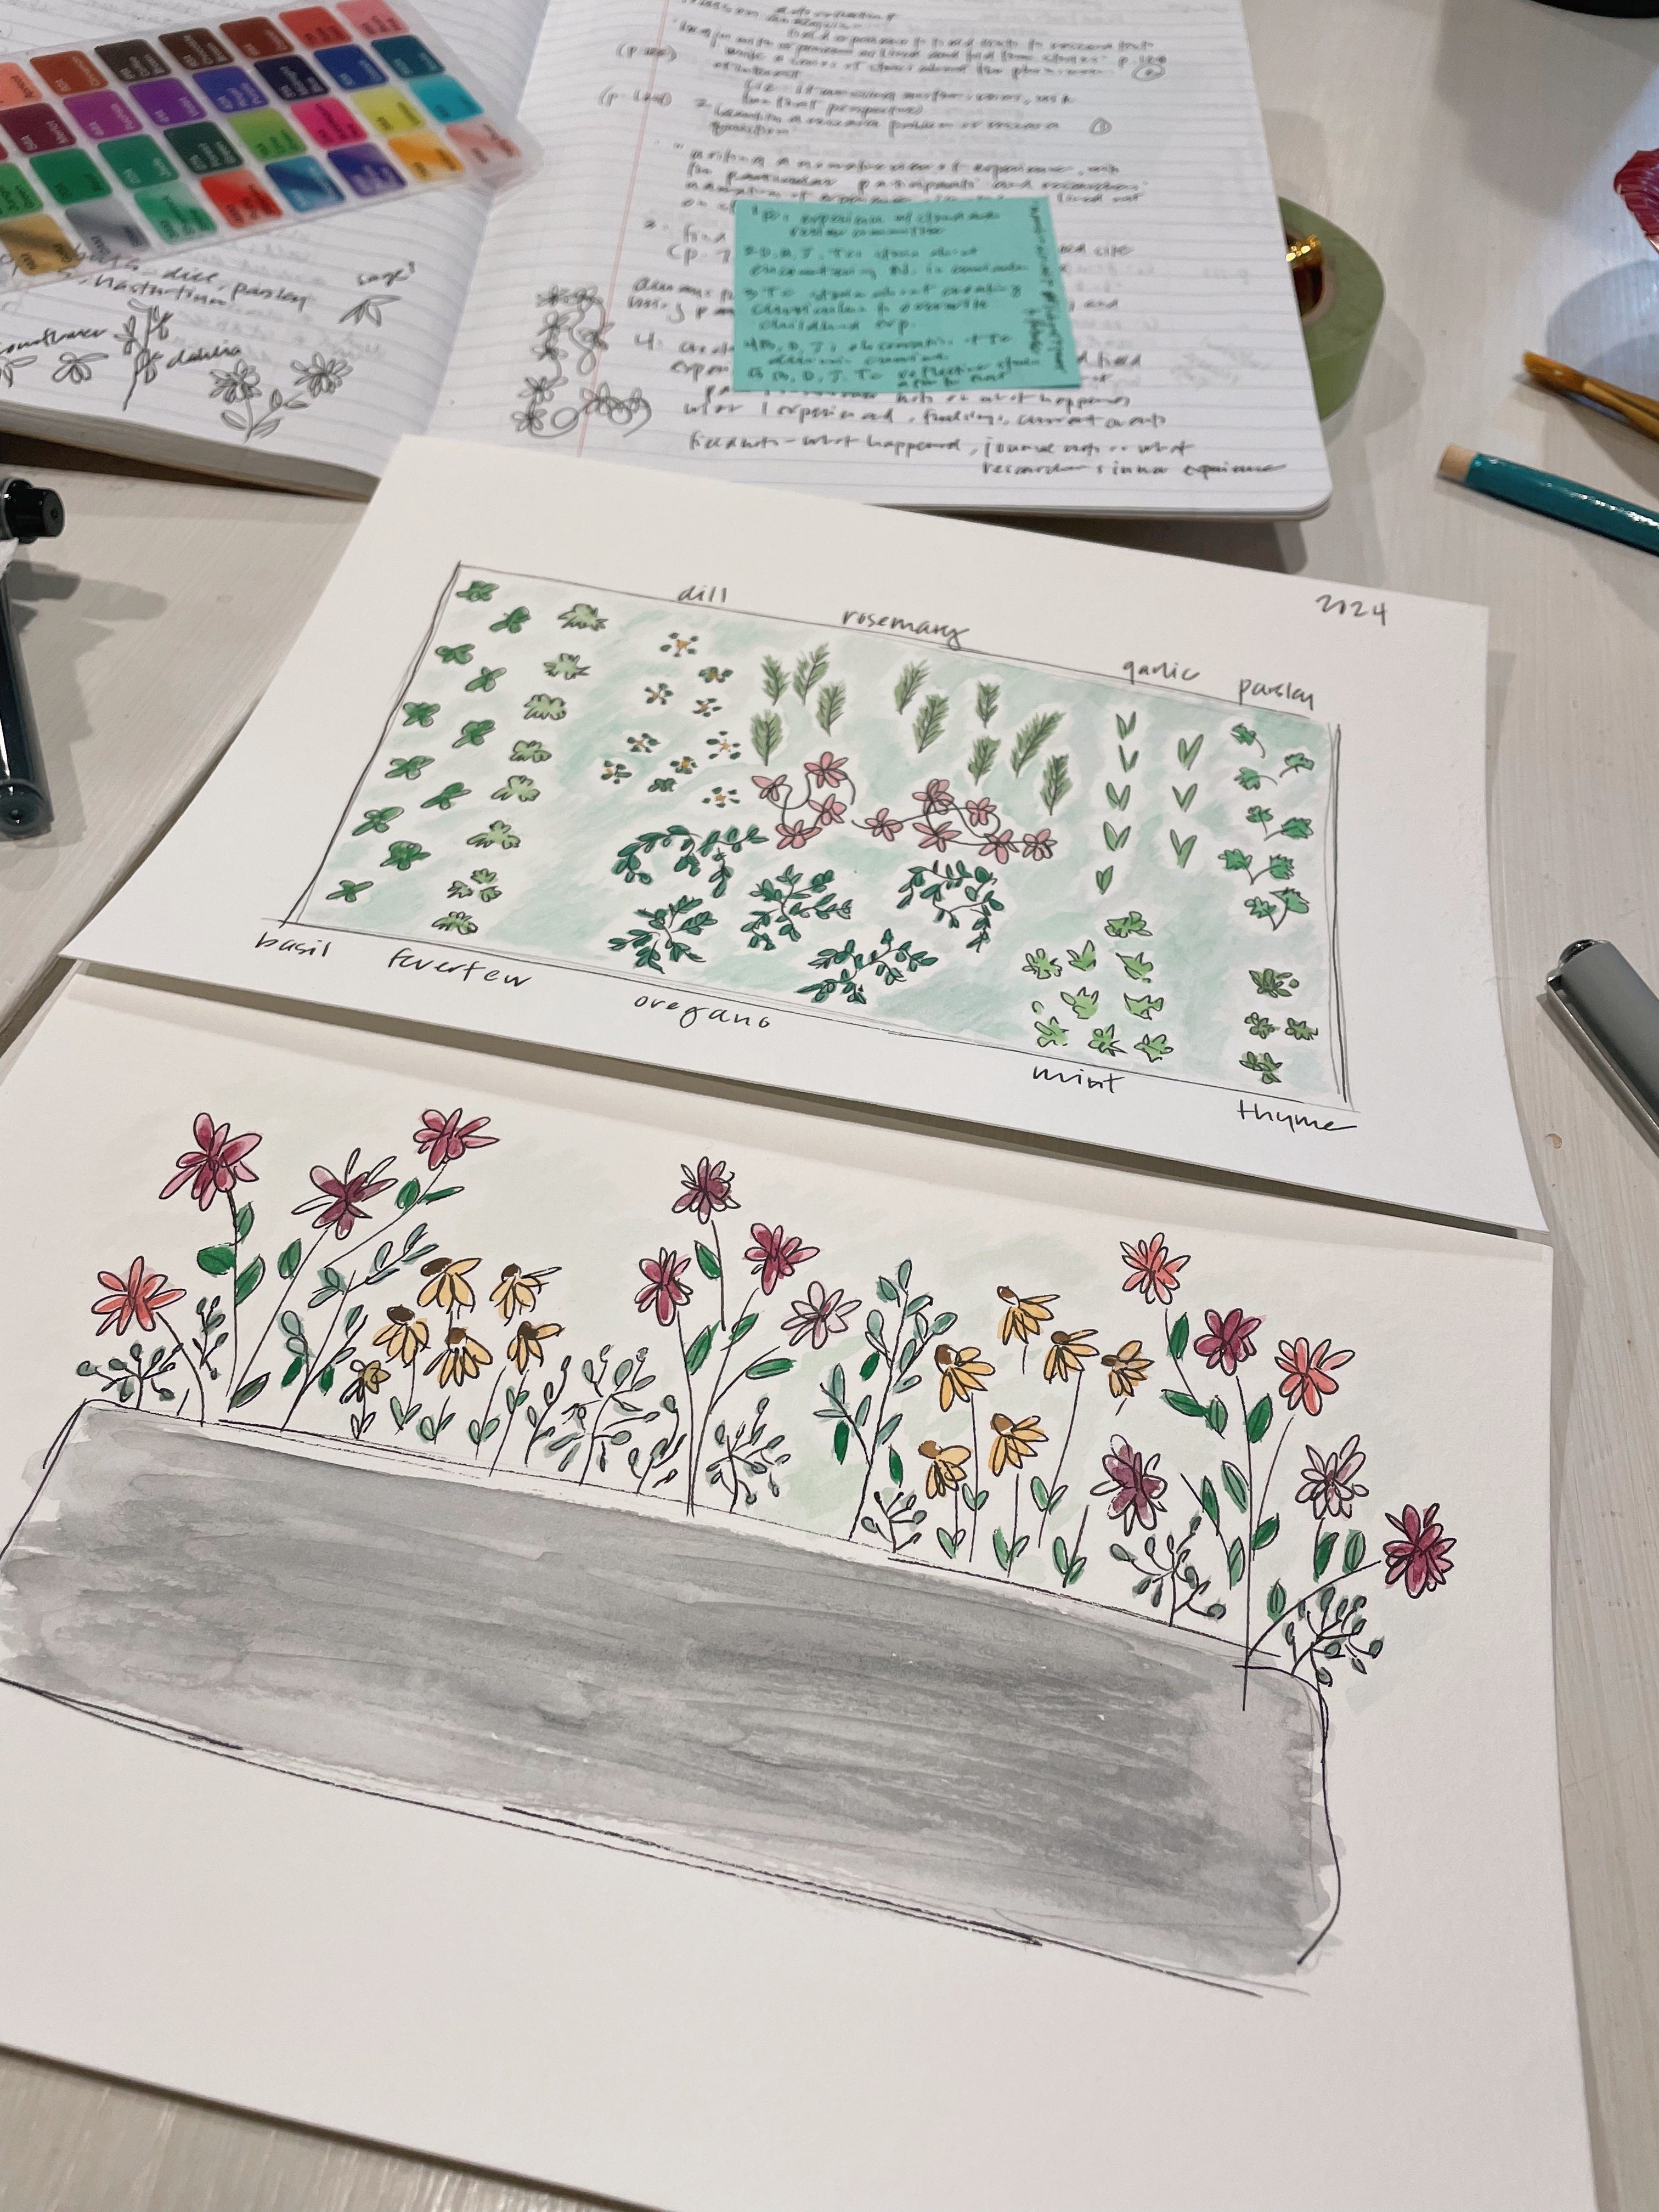
To begin, I cut an 8” x 11” piece of watercolor paper in half. I find it easier to imagine a garden using a small slice of paper — it creates a productive artistic constraint. Then I sketch out the borders of the bed and flowers using a black pen. I am a little fussy about my pens, so I use the same kind of pen to sketch every time. Thinking not only about what I want to sketch but how I want to draw the different plants forces me to analyze my gardening choices. I pay attention to the shape and height of foliage as I draw, thinking about which flowers may tower over certain foods that grow as ground cover. I also think about the arrangement of plants. Do I want straight rows or clumps of foliage? The answer usually depends on the type of flower I render and the location of the garden bed. For example, in my largest raised bed, which sits in the kitchen garden area surrounded by a wooden fence, I’ve grown food in straight rows, pulling on the aesthetic style of a parterre garden. A few times I’ve even arranged herbs in geometric shapes reminiscent of a knot garden (a personal obsession of mine). This year, I decided to transform this particular raised bed into an herb garden, complete with a wooden obelisk in the center and two oversized ceramic pots filled with rosemary. The watercolor rendering shows the beginning of this design: in addition to basil, rosemary, oregano, thyme, chives (not pictured, oops!), parsley, and feverfew, I’ve added garlic and a vining clematis to climb the center obelisk as a pollinator magnet.
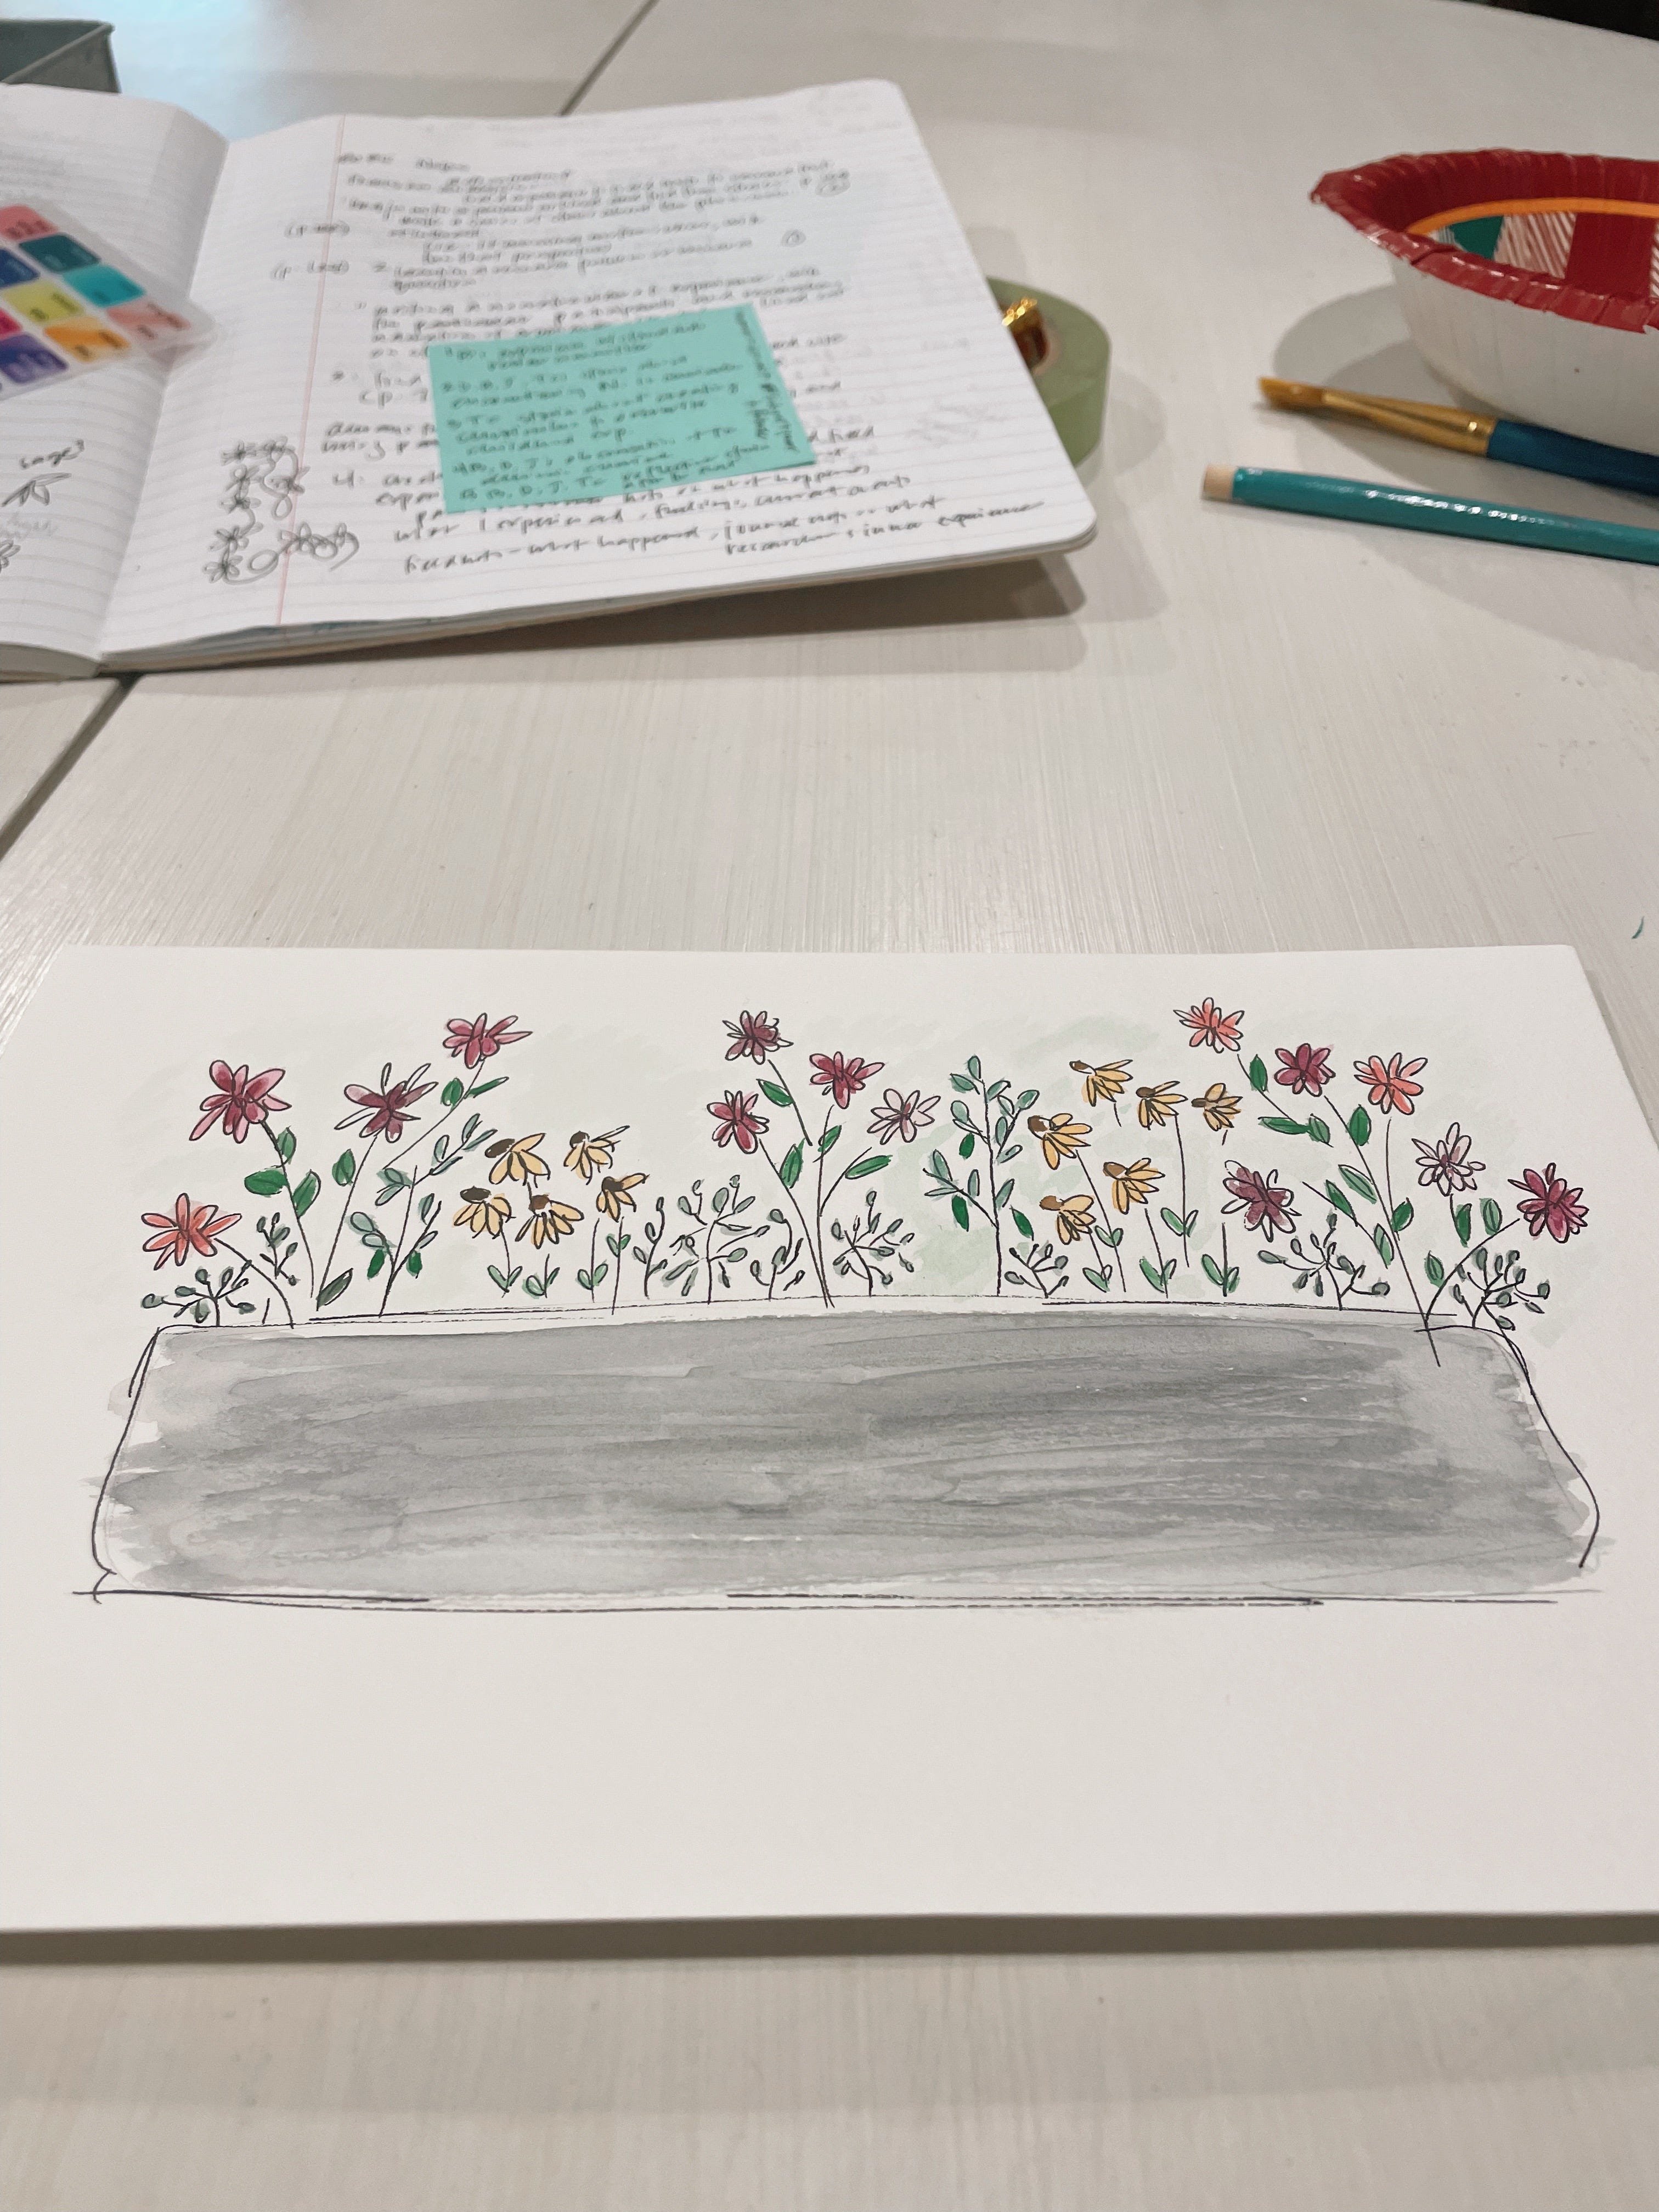
Rendering a raised bed from a cross view helps me consider how various plants will grow from the perspective of staggered heights. Sage will grow low to ground in June, jalapeños will take off to a medium height in July, and the summer will end with tall coneflowers and abundant dahlia blossoms. Of course, now that I have a plan, I must spend the next few months enacting it.

I’ve started lettuce, pansies, and snapdragons indoors. Next, I’ll start growing flowers that I depend on heavily for summer bouquets, like zinnias, cosmos, scabiosa, strawflowers, more snapdragons, and verbena. I’ll also indoor sow a handful of food including tomatoes and jalapeños. On April 1st, I will pull dahlia tubers and elephant ear bulbs out of storage and pot them up in fresh soil before placing them beneath the grow lights so they can sprout before going into the cutting garden.
I’ll also keep tinkering with my paintings, always devising ways to create an enchanting garden that produces food and flowers all summer long.
Thanks for reading this month’s essay. If you enjoy my writing, then please consider supporting my work. You can refer friends to Roots & Vines on Substack, you can follow me on Instagram (@roots.and.vines), you can purchase my flower photography at Roots & Vines Photography, or you can leave a comment below telling me what you think of this month’s offering.
-Betsy

This is so cool. I discovered flowers and water coloring in 2024… I’m inspired. Thanks.
B-this is so lovely. I'm so happy you are sharing and "living out loud." Love you, dearest.